Feeling lost?
↵ Let’s head back and find out how to access contributions
Can I contribute?
If the project’s settings allow it, every person accessing it can be a contributor. Sometimes administrators of a project can restrict contributing either to registered users or only to some specific users.
Let’s contribute!
Step 1: Drawing a shape
The first step is to click on the ‘Add contribution’ button and begin to draw the shape on the map: it can either be a point, a line, or an area - whichever best represents the current information being added. Only one shape can be drawn for each contribution.
To get the most accurate location for your contribution, zoom in on the map as closely as you can.
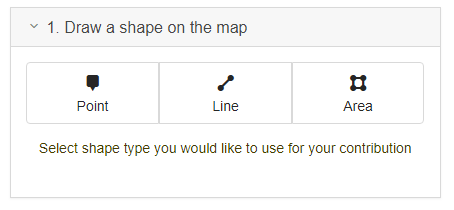
Shapes drawn on the map can be changed and edited once a contribution has been added to the project.
Points
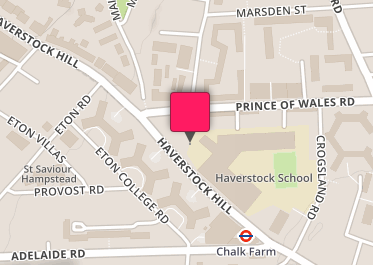
Points are used for mapping single spots, such as bus stops or monuments. They are placed with a single mouse click anywhere on the map.
Lines
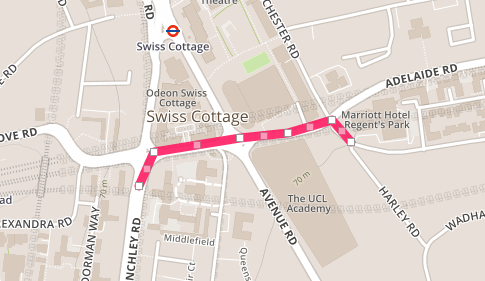
Lines are used for mapping paths, roads, etc. They are drawn by adding points alongside the path, and finished with a mouse click on the last point. Points are connected together automatically to form a single line.
Areas
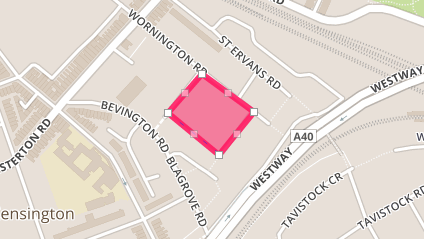
Areas are used for mapping bigger objects, such as buildings, parks, lakes. They are drawn by adding points around an object and finished with a mouse click on the first point. Points are connected together automatically and the object is filled in with a colour to form an area.
Step 2: Choosing a category
As every contribution belongs to a category, the next step is to choose one for your new contribution. The list of categories shows all active categories that can be used and how many fields each category contains.
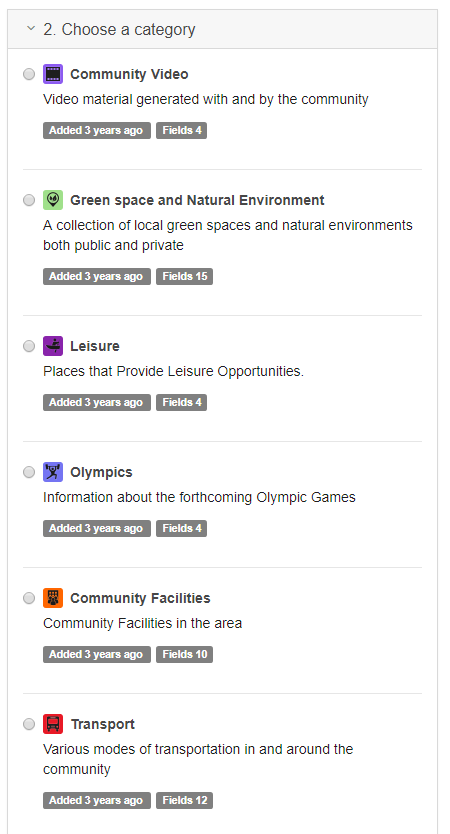
When a category is selected, all the fields of that category are loaded to the form.
Please note that the chosen category cannot be edited once a contribution has been added to the project, but any of the details can be changed at any point.
Step 3: Completing a form
On the last step, a form must be filled in.
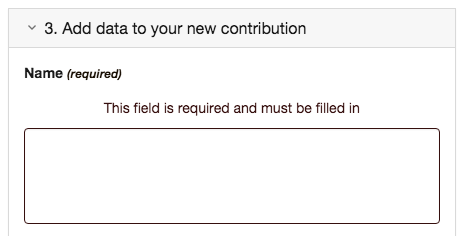
There can be different fields on a form depending on the project: text field, number field, single lookup and multiple lookup fields, also date and time fields. Appropriate information must be provided for ‘required’, that is mandatory, fields, otherwise a notification is displayed and the field is highlighted.

Anonymous users can only add contributions to the project, but registered users are allowed to save new contributions as a draft and modify them later. Draft contributions can be finished and added to the project later.
Media files can be added either during the contributing process or when the contribution has been added to the project but users have to be registered to add media – this helps us to ensure inappropriate files are not uploaded.
What’s next?
↳ Let’s learn how to upload media files to your contributions